Page Contents
Install Python on windows
Installing Python on Windows is a straightforward process. Here are the steps:
1. Download Python
Go to the official Python website (python.org) and navigate to the downloads section. Choose the latest version of Python for Windows. As of my last update, Python 3.x is the latest stable version.

2. Run the Installer
Once the download is complete, run the installer by double-clicking the downloaded file. You might need administrator privileges for this.
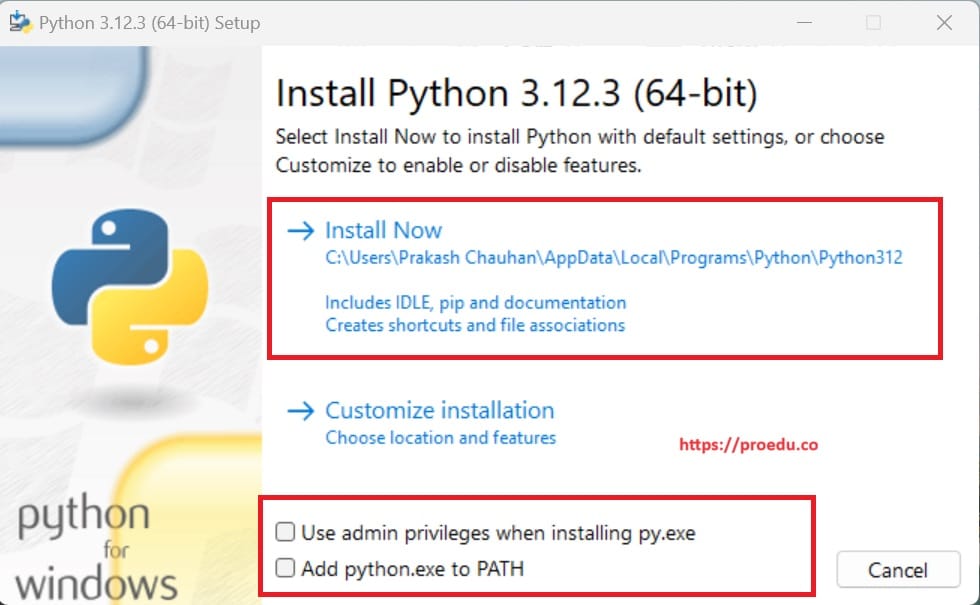
3. Customize Installation (Optional)
The installer will prompt you to customize the installation if you wish. You can choose the installation directory and whether to add Python to your system PATH. Adding Python to your PATH allows you to run Python from the command line easily.
4. Install Python
Proceed with the installation by clicking “Install Now”. The installer will copy the necessary files and set up Python on your system.
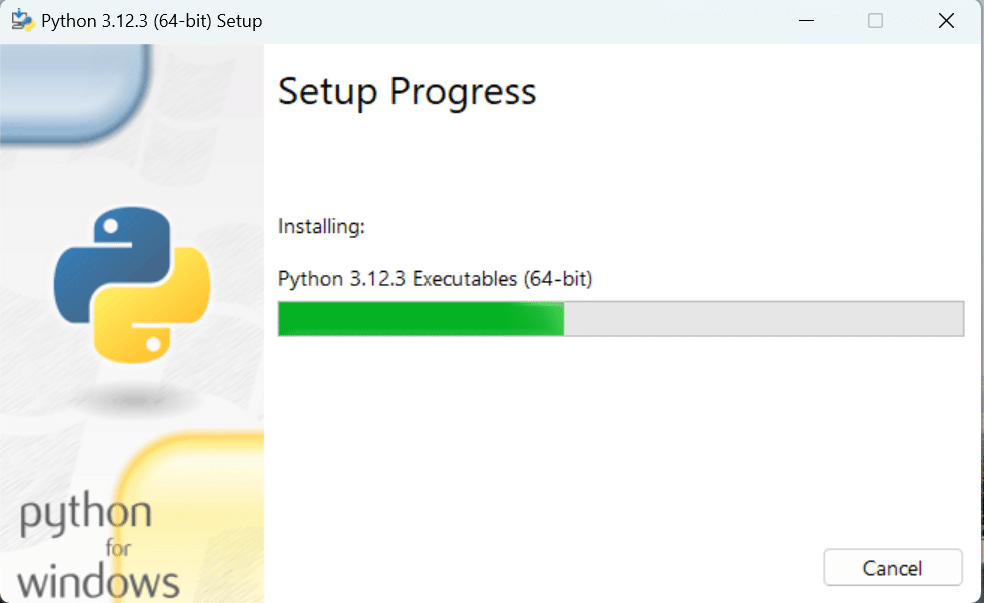
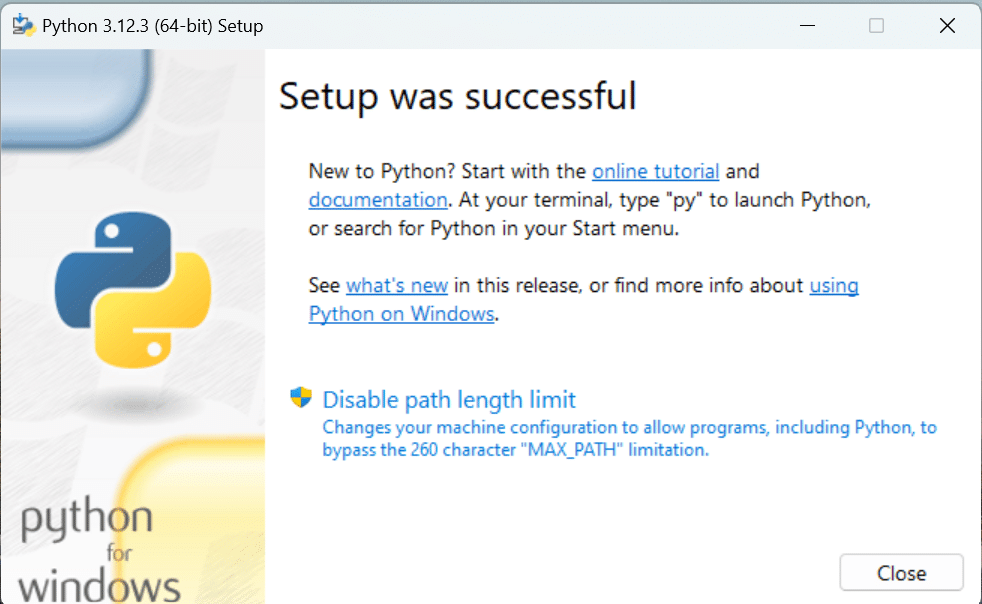
5. Verify Installation
After the installation is complete, you can verify it by opening a command prompt and typing python. If Python is installed correctly, you should see the Python version information displayed.
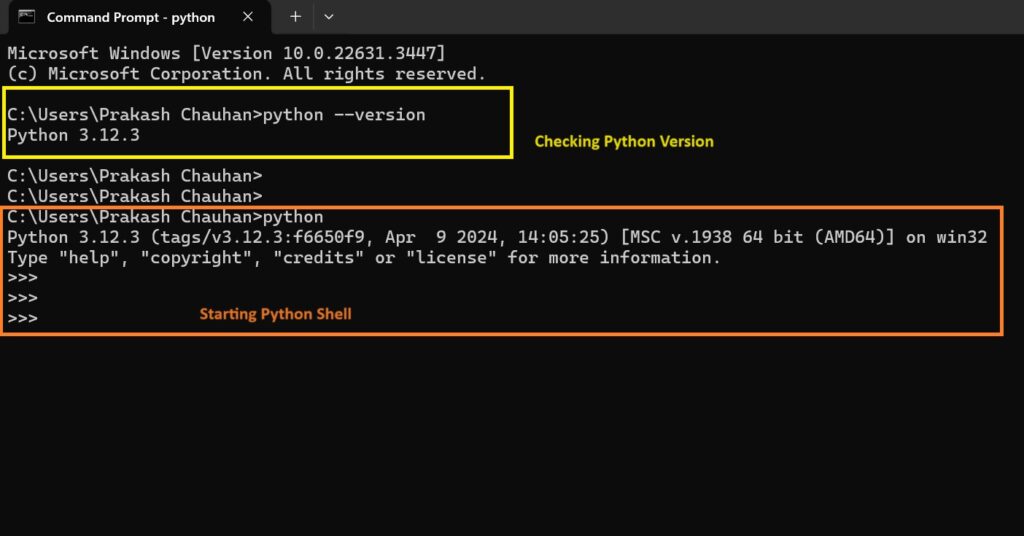
That’s it! Python is now installed on your Windows system, and you can start writing and running Python code.
Install Jypyter notebook on windows
Installing Jupyter Notebook on Windows 11 involves a few steps. Since Jupyter Notebook is a Python package, you’ll need to have Python installed on your system first. Once Python is installed, you can use pip, Python’s package installer, to install Jupyter Notebook. Here’s a step-by-step guide:
1. Install Python
If you haven’t already installed Python, follow the steps mentioned earlier to install Python on your Windows 11 system.
2. Open Command Prompt
Press Win + R, type cmd, and press Enter to open the Command Prompt.
3. Install Jupyter Notebook
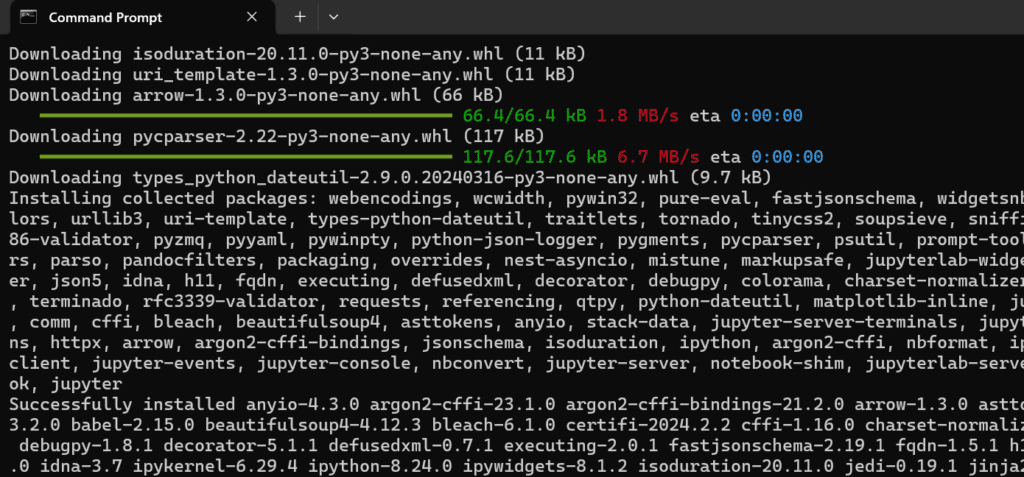
Type the following command and press Enter to install Jupyter Notebook using pip
pip install jupyter
This command will download and install Jupyter Notebook along with its dependencies.
4. Start Jupyter Notebook
After the installation is complete, you can start Jupyter Notebook by typing the following command in the Command Prompt and pressing Enter. This command will start the Jupyter Notebook server, and your default web browser will open with the Jupyter Notebook interface.
jupyter notebook
5. Create a New Notebook
In the Jupyter Notebook interface, you can navigate to the directory where you want to create a new notebook, and then click on “New” and select “Notebook” to create a new Python notebook.
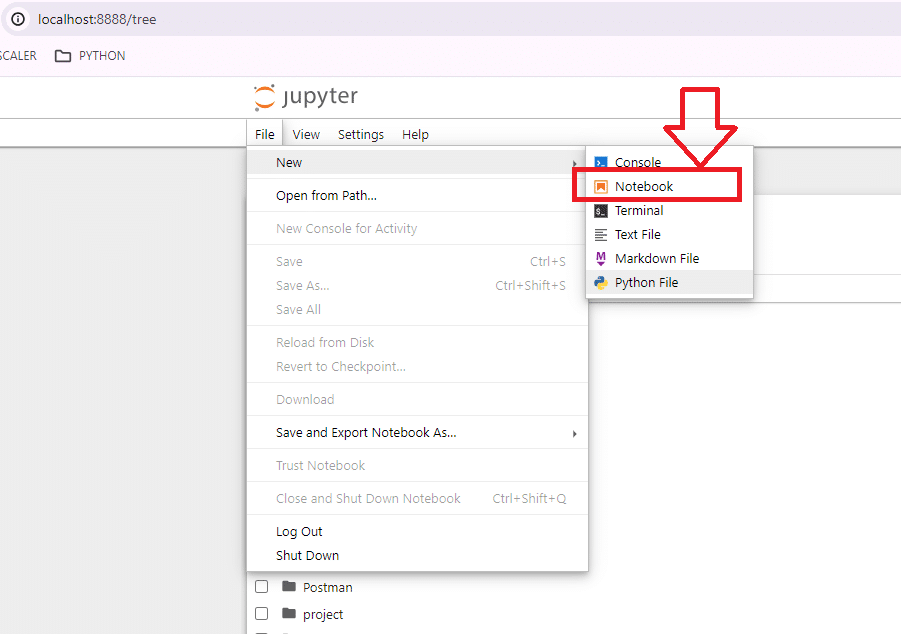
That’s it! You’ve successfully installed and started Jupyter Notebook on your Windows 11 system. You can now use Jupyter Notebook to write and run Python code interactively.
